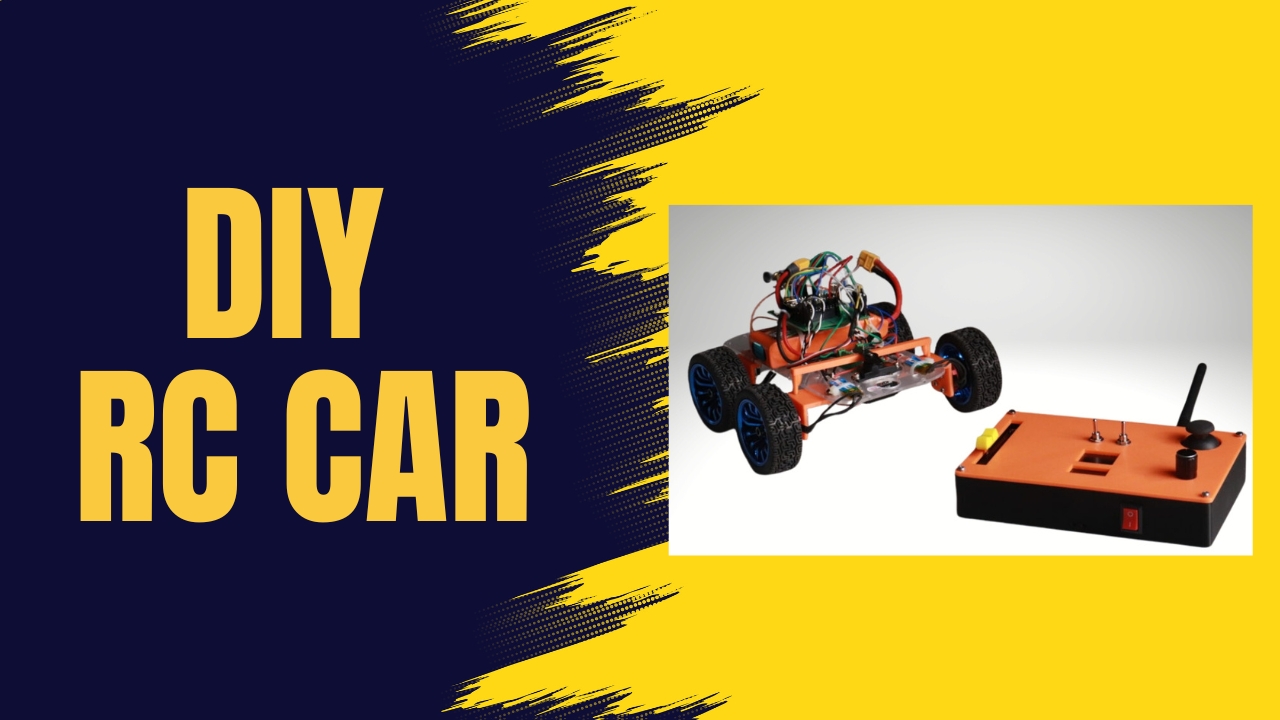
Beginner’s Guide to RC Cars Using Arduino Nano
Table of Contents
What Is an RC Car? A Beginner’s Guide to Building an Arduino-Based RC Car
Radio-Controlled Cars, commonly known as RC Cars, are miniature vehicles such as cars, trucks, buses, buggies, or vans that can be operated wirelessly from a distance using a remote controller or transmitter. These vehicles are widely used in hobbies, DIY electronics projects, robotics learning, and even professional prototyping.
The term RC is used interchangeably for Radio Control and Remote Control—both refer to the same concept of controlling a device wirelessly without physical connection.
In this blog, we’ll explore how an Arduino Nano acts as the brain of an RC car and understand the essential hardware required to build a powerful DIY RC Car using RobouCreate components.
How Does an RC Car Work?
An RC car works by receiving wireless signals from a transmitter. These signals are processed by a microcontroller, which then controls motors, steering mechanisms, and speed controllers. In our project, the Arduino Nano plays a crucial role by interpreting signals and managing the car’s movement efficiently.
What Is Arduino Nano?
The Arduino Nano is a compact, powerful, and breadboard-friendly microcontroller board based on the ATmega328 chipset. Despite its small size, it offers almost the same functionality as larger Arduino boards like the Arduino Duemilanove, making it ideal for compact projects such as RC cars, robotics, and embedded systems.
Unlike some Arduino boards, the Nano does not include a DC power jack. Instead, it is powered via a Mini-B USB cable, which makes it lightweight and space-efficient—perfect for RC vehicle applications.
Key Features of Arduino Nano
- ATmega328 Microcontroller
- 2 KB SRAM Memory
- Operating Voltage Support: 7V to 12V
- Communication Interfaces:
- 1× UART
- 1× I2C
- 1× SPI
- 6× PWM (Pulse Width Modulation) Channels
- Compact size and easy PCB mounting
These features make the Arduino Nano a reliable and popular choice for DIY RC car projects.
Hardware Requirements for Arduino RC Car Project
To build a high-performance RC car using Arduino Nano, you will need the following hardware components available at RobouCreate:
Core Electronics
- Arduino Nano
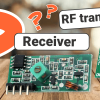
- nRF24L01+ PA + LNA Module with Adapter Board
- LM2596S DC-DC Buck Converter
- 7 × 9 cm Universal PCB Prototype
- Screw Terminal Block
- Male and Female Header Pins
Motor & Control System
- Ready to SKY BLDC Motor
- Ready to SKY 20A ESC (Electronic Speed Controller)
- Orange OT5316M 7.4V 15kg.cm Metal Gear Digital Servo Motor
Mechanical Components
- Transparent Robot Smart Car Chassis
- 65mm Robot Smart Car 12-Rim Wheels
Power Supply
- Orange 11.1V 2200mAh 40C 3S Lithium Polymer (LiPo) Battery Pack
Why Build an Arduino-Based RC Car?
- Perfect for beginners in robotics and embedded systems
- Hands-on learning of wireless communication
- Great project for engineering students and hobbyists
- Easy to customize and upgrade
- Ideal for DIY innovation using RobouCreate components
Software Requirements for Arduino RC Car Project
- Arduino IDE
Circuit Diagram and Hardware Interfacing –
Circuit Diagram –
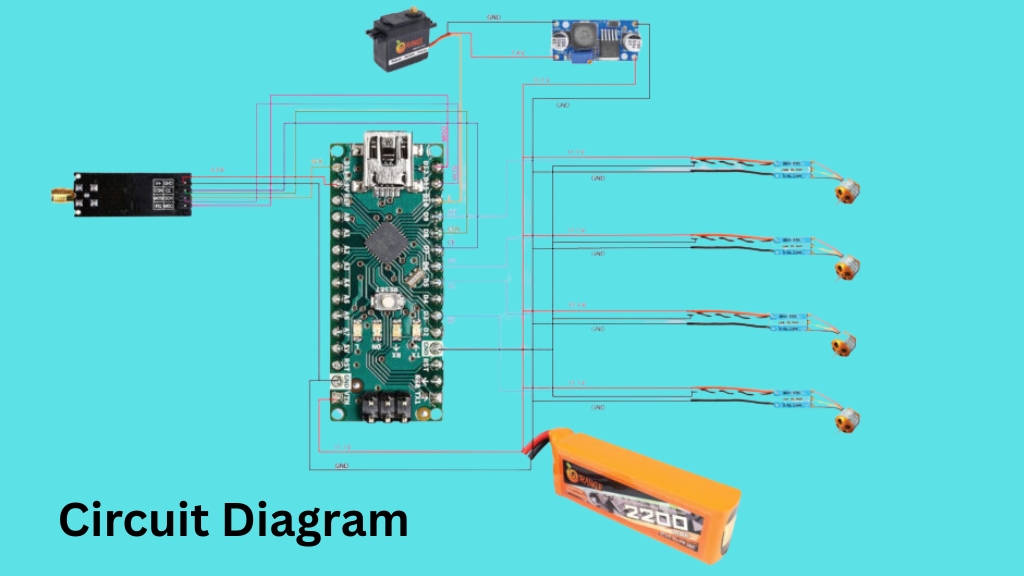
Circuit Diagram and Hardware Interfacing –
Circuit Diagram –
Hardware Interfacing –
Arduino Nano
| Arduino Nano | NRF24L01 |
|---|---|
| 7 | CE |
| 8 | CSN |
| SCK | SCK |
| MISO | MISO |
| MOSI | MOSI |
| Arduino Nano | Motor Signal Wires |
|---|---|
| 3 | M1 |
| 5 | M2 |
| 6 | M3 |
| 9 | M4 |
| 10 | Servo Signal |
Coding –
#include <SPI.h>
#include <nRF24L01.h>
#include <RF24.h>
#include <Servo.h>


RF24 radio(7, 8); // CE, CSN
const byte addresses[][6] = {"00001", "00002"};

struct pack{
int spot=0, x=0, y=0, jsw=1, trim=0;
};

struct drone{
int batt;
};

pack data;
drone stat;

Servo m1,m2,m3,m4, stere;

void setup() {
Serial.begin(9600);

m1.attach(3, 1000, 2000);
m2.attach(5, 1000, 2000);
m3.attach(6, 1000, 2000);
m4.attach(9, 1000, 2000);
stere.attach(10);

pinMode(A0, INPUT);
pinMode(A2, OUTPUT);

radio.begin();
radio.setRetries(15, 15);
radio.openWritingPipe(addresses[0]); // 00001
radio.openReadingPipe(1, addresses[1]); // 00002
radio.setPALevel(RF24_PA_MIN);

delay(100);

}

int throttle=0, turn=0;

void loop() {

delay(25);
radio.startListening();

if (radio.available()) {
radio.read(&data, sizeof(data));

if(data.y < 480){
throttle = map(data.spot, 0, 1023, 1300, 1350);
}

else if(data.y > 520){
throttle = map(data.spot, 0, 1023, 1300, 1200);
}

else{
throttle = 1300;
}

turn = map(data.x, 0, 1023, 95, 45);

if(data.jsw == 0){
digitalWrite(A2, HIGH);
}

else{
digitalWrite(A2, LOW);
}


m1.writeMicroseconds( throttle );
m2.writeMicroseconds( throttle );
m3.writeMicroseconds( throttle );
m4.writeMicroseconds( throttle );
stere.write(turn);


serial_debug();


// delay(25);
// radio.stopListening();
// stat.batt = 50 ; //map(analogRead(A0), 836, 1023, 0, 100); // 826 low batt
// radio.write(&stat, sizeof(stat));
}

}


void serial_debug(){
Serial.print(data.spot);
Serial.print(" ");
Serial.print(data.x);
Serial.print(" ");
Serial.print(data.y);
Serial.print(" ");
Serial.print(data.jsw);
Serial.print(" ");
Serial.print(data.trim);
Serial.println(" ");
}
Working of Project –
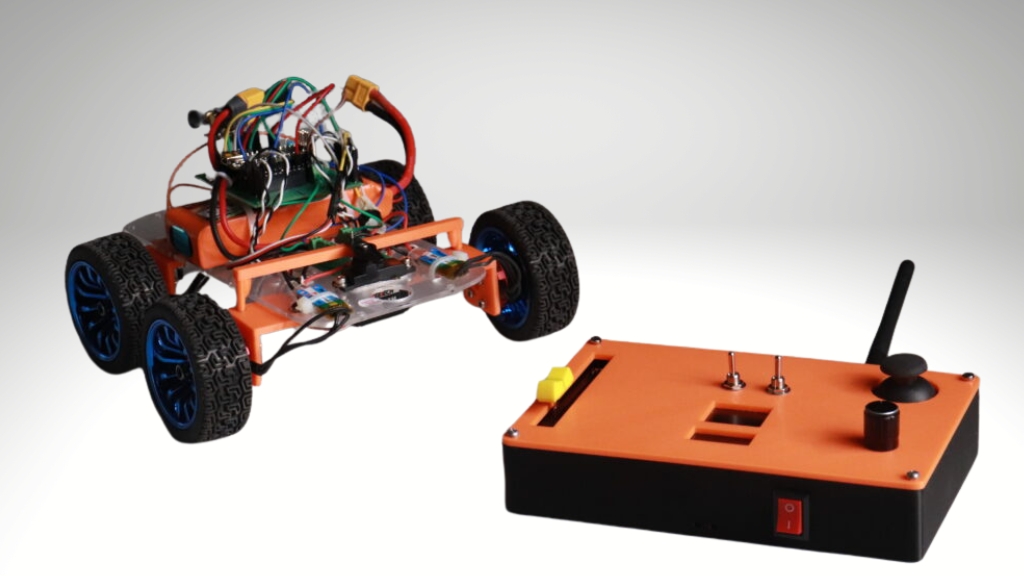
The Arduino-based RC car works by transmitting control signals wirelessly from a remote using the nRF24L01 module. These signals are received by the RF module on the car and processed by the Arduino Nano, which acts as the central controller. Based on the received commands, the Arduino controls the speed of the BLDC motor through the electronic speed controller and manages steering using a servo motor. The LiPo battery provides the required power, while a DC-DC buck converter regulates voltage for safe operation. This coordination of wireless communication, motor control, and power management enables smooth and responsive movement of the RC car.
Conclusion-
In conclusion, the Arduino Nano–based RC car project is an excellent example of how wireless communication, motor control, and embedded systems work together in real-world applications. This project helps beginners understand the basics of robotics, electronics, and microcontroller programming in a practical way. With easily available components and simple implementation, it is ideal for students, hobbyists, and DIY enthusiasts. Building this RC car not only enhances technical skills but also encourages innovation and hands-on learning. Overall, it serves as a strong foundation for exploring more advanced robotics and automation projects.

Add comment